Mechanical & Electrical Design
| Behind every successful project is a great design. |
|---|
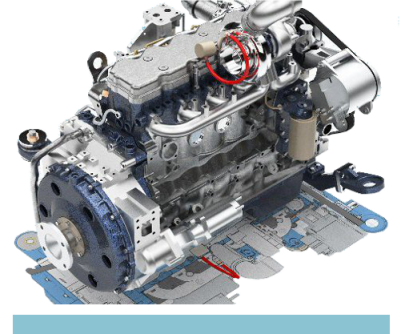 Use the links below to find content for learning the design process, and for helping you improve how you get work done in QY CAD.
| Learn the basics
|
| Next Level
| |
| Quick Search design - drawing tools - errors - geometric relationship - IntelliSketch - intent zones - layer - plane - ordered (history-based) - extrude - assembly copy - adjustable assembly - alternate assembly - bluesurf - convergent modeling - design intent (live rules) - move - QuickPick - surfaces - synchronous - sheet metal (shell) - facet - features - mesh data - sew (stitch) - tutorial - variable expression - hole - helical - frame - generative design - topology optimization |
| Choose a link to get started |
|---|
| Sketching Basics | Modeling Basics | Next Generation Design | |||
|---|---|---|---|---|---|
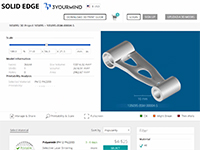
| What type of model do you want to create? Learn what you can do in the different QY CAD environments. Change the page or document that displays when QY CAD starts to accommodate your current design needs. | Tutorial—Build a part using synchronous and ordered features |
| Use the Reverse Engineering workflow to produce a facet model (mesh model) from scanned or imported data. | ||
| Learn about sketches in Drawing synchronous sketches of parts. Become proficient Drawing 2D elements and Modifying 2D elements. | Add model features (holes, threads, dimples, thin-wall), treatment features (rounds, chamfers, draft), and surfaces. |
| Use the Generative Design workflow to create a weight-optimized part that can be used directly in additive manufacturing. | ||
| Add Dimensions and Annotations to your 2D sketches, profiles, and drawings. | Create a sheet metal part to design a thin, flat part that can be bent and cut into a variety of shapes. |
| Produce a 3D prototype of your design directly from QY CAD. See Using the 3D Print page. | ||
| Use the sketch to Create a part (workflow). | Build assemblies from previously created parts. See Working with assemblies. | ||||
| Or directly create a 3D primitive box, cylinder, or sphere shape. See Construct a box feature. | Use the Engineering Reference tools to design specialized features, such as shafts, gears, springs, and pulleys. |

Industry applications
Use your parts and assemblies to create designs for different industry applications.
| Choose one of these links to get started |
|---|
| Process Design and Molded Parts | Fabrication and Welding: Structural frames, Weldments, and Standard Parts | Electrical Systems: Wiring and Harness Design, Diagrams, and Nailboards | |||
|---|---|---|---|---|---|
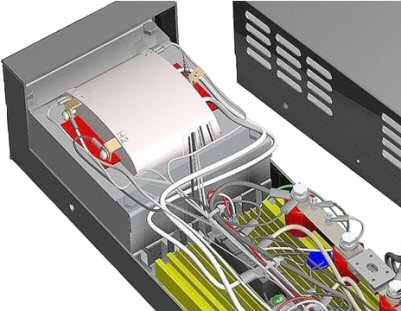
| Use XpresRoute to create tubes and pipes in an assembly. Watch the video in Tube design workflow. Learn the Pipe design workflow. For more information, see Creating the piping route. | Start with the Frame design workflow. Know the options on the Frame command bar. Learn about corner and end treatments in Creating a structural frame, and the Frame snap points. | Use QY CAD Electrical to create wiring diagrams that outline the wiring connections between components,and create a graphical layout of the actual wiring within the product. | |||
| Use QY CAD Mold Tooling to create plastic mold base components. | Learn how to add Weldments to an assembly or part file. To display the weldment commands, see Create a weldment assembly. | Learn the Wire harness design workflow. Produce Nailboard drawings. Try this activity—Create a conductor table. | |||
| Learn how to use the part library management system for frequently used parts, such as fasteners, bearings, structural shapes, pipes, and fittings. Watch the workflow videos here: Standard Parts. | Use QY CAD PCB Collaboration to communicate design intent between your ECAD and MCAD systems. Use this add-in to preview and consider design proposals between disciplines, then accept, reject, or counter the proposals. For more information, see Working with QY CAD PCB Collaboration. |
© 2021 UDS