Activity: Create a dimple
Create a dimple
![]()
You will construct a dimple on the top face of the part, as shown in the illustration. You will draw a circle to be used to construct the jog.
Launch the Activity: Create a dimple.
Start the Circle by Center Point command
![]()
In the next few steps, you will draw the circle shown in the illustration.
-
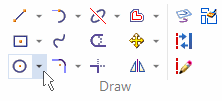
Choose the Home tab→Draw group→Circle by Center Point command
 .
.
Draw a circle
-
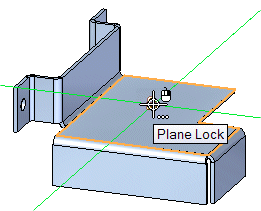
Position the cursor approximately as shown, and press the F3 key to lock the plane.
-
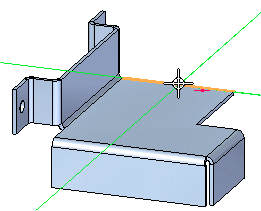
Move your cursor over the part edge until the midpoint relationship indicator is displayed.
-
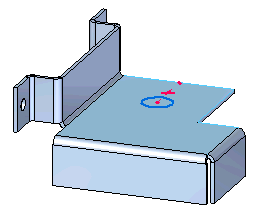
Drag your cursor toward the center of the part and when it is approximately located as shown, click to place the circle.

-
On the command bar, type 25 as the diameter, and then press Enter.

-
Right-click to exit the Circle by Center Point command.
-
Press the F3 key to unlock the plane.
Select the Dimple command
-
Choose the Home tab→Sheet Metal group→Dimple list→Dimple command
 .
. -
Position the cursor over the circular region, as shown, and click.
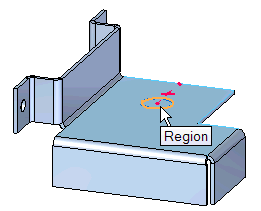
Notice a handle and dynamic edit control display.
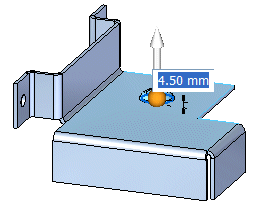
You can click the handle to change the direction of the dimple.
-
Ensure that the handle is pointing upward and the extent is 4.50 mm and press Enter.
![]()
In the next few steps, you will use the circle you just constructed to create a dimple.
Edit the dimple
-
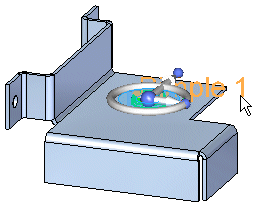
Position the cursor over the dimple, as shown, and click.
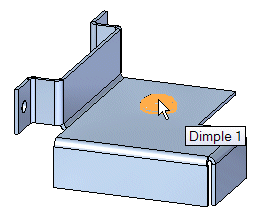
Notice the steering wheel and edit handle labeled Dimple 1 display.
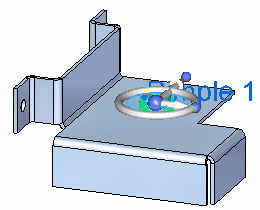
You can use the steering wheel to move the dimple along the face and the edit handle to edit dimple parameters.
-
Position the cursor over the edit handle, as shown, and click.
-
Type 5.00 to change the extent of the dimple.
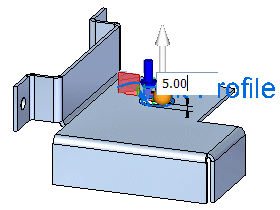
-
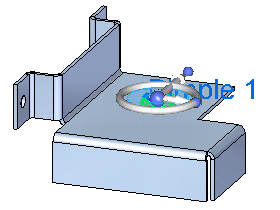
Click the handle to change the direction of the dimple and press Enter.
-
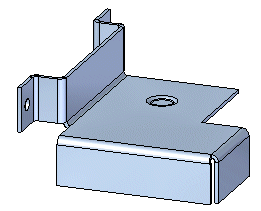
Move the cursor away from the part and the steering wheel and click to complete the edit.
![]()
You can move a dimple along the face, edit the dimple feature to change such things as the dimple direction and extent, or you can edit the dimple profile to make changes to the sketch element used to create the dimple.
In the next few steps, you will edit the dimple extent and change the direction for the dimple you constructed.
The Select command ![]() is still active.
is still active.
Save the file
![]()
-
On the Quick Access toolbar, click the Save button
 to save the work you have done so far.
© 2021 UDS