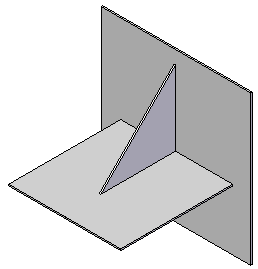
Tutorial: Simplify a sheet metal assembly
-
Open the file Unite_body.asm.
Simulation models are delivered in the \Program Files\UDS\QY CAD 2022\Training\Simulation folder.
-
Choose Application menu→Save As→Save As command, and give this file a unique name. You will use the saved copy of the file to create a second study later in this activity.
-
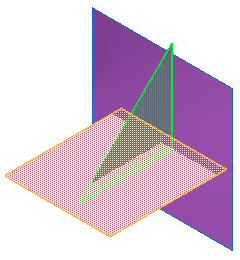
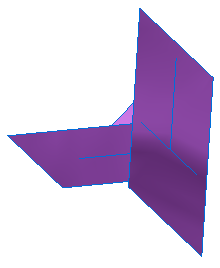
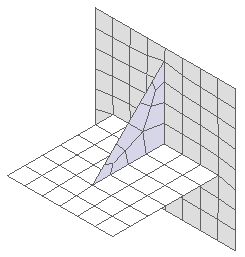
Create mid-surfaces.
-
Select Simulation Geometry tab→Surfaces group→Mid-Surface.

-
Select the vertical tab.
-
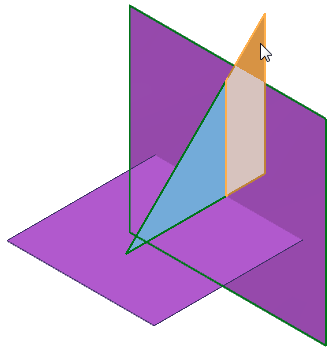
On the Mid-Surface command bar, click Offset From Side 1, and ensure Offset Ratio is set to 0.500.

You can see that the part is automatically selected, and the mid-surface is displayed in green.
-
Click the Preview button, and then click Finish.
-
Repeat for the other two tabs.
Note:Several Mid Surface nodes are displayed on the Simulation pane but not on the Assembly PathFinder.
-
-
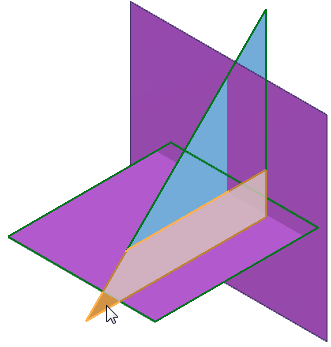
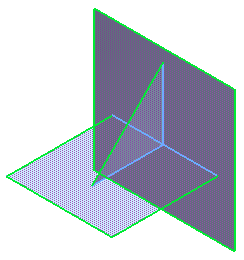
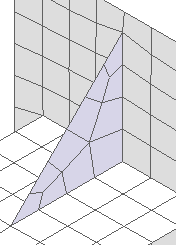
Expose the mid-surfaces.
-
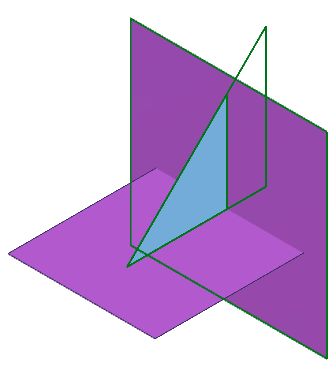
In the empty space around the view, right-click and select Show/Hide All Components.
-
In the Show All/Hide All dialog box, select the Show All check box to the right of Surfaces, and select the Hide All check box to the right of Design body.
This exposes just the mid-surfaces.
-
-
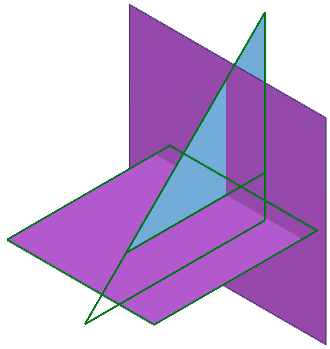
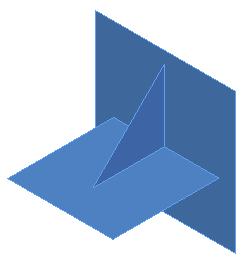
Extend these surfaces.
-
Select View tab→Views group→Left View to rotate the view.
Notice the gaps between the mid-surfaces of each tab. You need to extend each mid-surface.
-
Press Ctrl+I to rotate to an isometric view.
-
Choose Simulation Geometry tab→Surfaces group→Extend
 .
. -
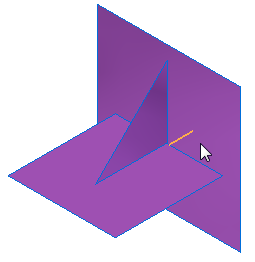
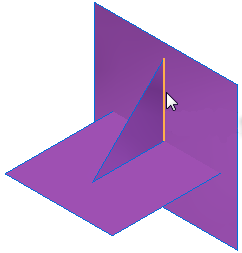
Select the edge shown and extend it a distance of 8 mm towards the vertical face.
-
Extend the other surfaces so they intersect.
-
To check your work, rotate the model so you can see all of the extensions.
Note:Several Extend nodes are displayed on the Simulation pane but not on the Assembly PathFinder.
-
-
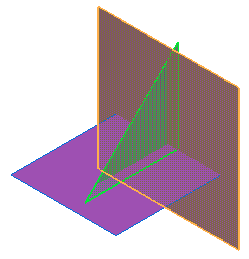
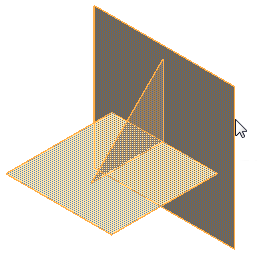
Trim the extended surfaces.
Once the mid-surfaces have been extended past each other, you can trim them to just touch the surrounding faces.
-
Choose Simulation Geometry tab→Surfaces group→Trim
 .
. -
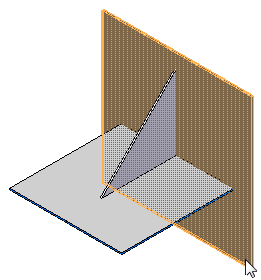
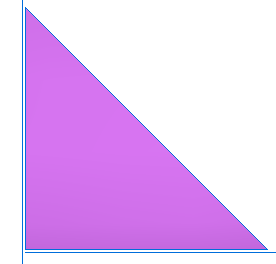
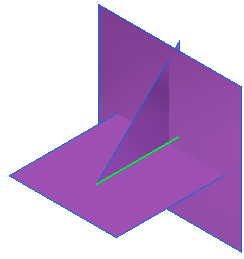
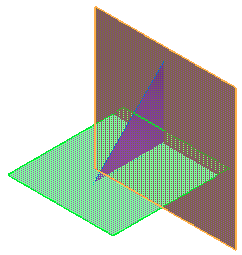
Select the triangular face to trim as shown below; right-click to accept. Select the horizontal face as the trimming surface, and right-click to accept.
-
At the prompt, Click on regions to remove, select the region below the horizontal face.
A preview of the trimmed away surface is shown. The blue surface areas represent the areas to be kept.
-
On the command bar, click Accept and then click Finish.
-
Repeat the previous trim procedure on the triangular face, but this time:
-
Select the vertical face as the trimming body.
-
Select the region that extends to the right of the vertical face as the region to be removed.
A preview of the trimmed away surface is shown. The blue surface areas represent the areas to be kept.
-
-
Right-click to accept, and then on the command bar, click Finish.
-
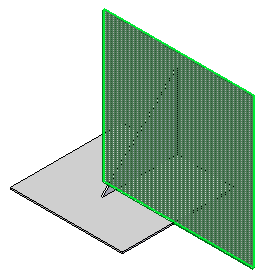
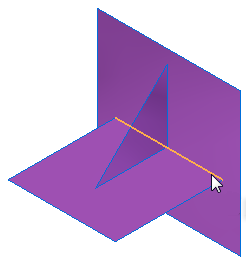
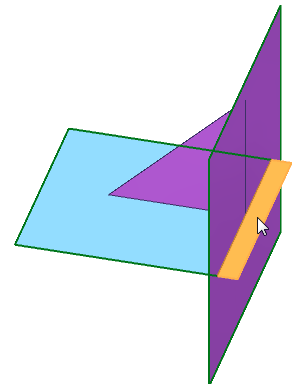
Trim the horizontal face using the vertical surface as the trimming body. As the region to remove, select the geometry that extends beyond the vertical surface.
The illustration below shows the model rotated for better visibility, but you can use QuickPick to select the region without changing the view direction.
-
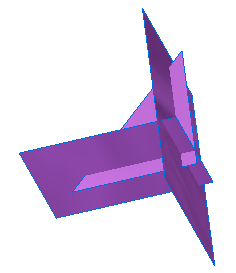
Rotate the model to view the results of these three trims.
-
Click Cancel to end the command.
-
Press Ctrl+I to rotate to an isometric view.
Note:Several Trim nodes are displayed on the Simulation pane but not on the Assembly PathFinder.
-
-
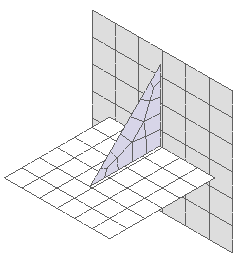
Create a united body.
-
Choose Simulation Geometry tab→Surfaces group→Unite Bodies.

-
Select all three faces.
-
Right-click to accept.
Note:A Unite Bodies node is displayed in the Simulation pane, but not on the Assembly PathFinder.
-
-
Create a new study.
-
Choose Simulation tab→Study group→New Study.
-
Choose the Linear Static study type and Mixed and General Bodies mesh type. Select OK.
-
The Define command is active. Select and accept the united body as the geometry to simulate.
-
-
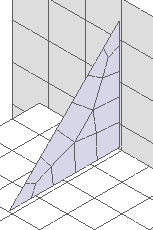
Mesh the model.
Choose Simulation tab→Mesh group→Mesh. Using the default mesh size, select the Mesh button.
 Note:
Note:Notice the consistent, even distribution of nodes and elements between surfaces. Specifically, note how nodes on each element precisely match up.
-
Save and close this file.
-
Create a second study and mesh the model using the separate mid-surfaces as the geometry.
-
Open the unmodified copy of the original file Unite_body.asm.
-
As before, select the Save As command and give this file a unique name.
-
Prepare the mid-surfaces.
-
Repeat the previous steps to create, expose, extend and trim the mid-surfaces.
-
Create a new study.
-
Choose Simulation tab→Study group→New Study.
-
Choose the Linear Static study type and Surface mesh type. Select OK.
-
Select all three surfaces as the geometry to simulate.

-
-
Select Simulation tab→Mesh group→Mesh. Using the default mesh size, select the Mesh button.
 Note:
Note:Notice the independent element distribution between surfaces. There are inconsistent shapes and node mismatches.
-
Note:Solving a study using the collection of individual surfaces requires edge connectors between the surfaces; this impacts processing time. Also, a less accurate solution can result due to inconsistent element distribution and node mismatches. For sheet metal parts, the united body method may provide a more accurate set of results in less time.
-
-
Close this file.
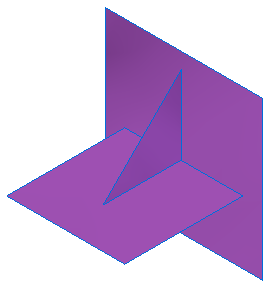
In this activity, you use the Mid-Surface, Extend, Trim, and Unite Body commands on the Simulation Geometry tab to simplify an assembly for simulation.
For information about these and other techniques, see Assembly best practices for simulation.
| Tutorial: Compare displacement load results for different materials |
© 2021 UDS