Activity: Create a mirror copy
Create a mirror copy
In this activity you will learn how to create another weld by using mirror copy in assembly.
Launch the Activity: Create a mirror copy.
Display the mirror plane
-
On the Viewing commands toolbar, click Fit
 .
. -
Choose Home→Select→Select command
 .
. -
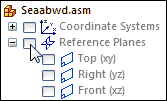
In PathFinder, click the "+" symbol to expand the Reference Planes collection.
-
Position the cursor over the check box adjacent to the Reference Planes entry, as shown, then click to enable the Reference Planes collector.
-
Position the cursor over the check box adjacent to the Front (xz) entry, then click to display the front reference plane in the graphics window.
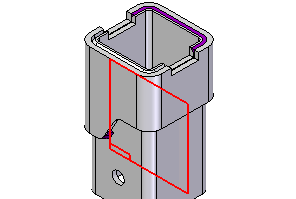
In the next few steps, you will copy and mirror the groove weld you just constructed using an assembly reference plane.
Mirror and copy the groove weld
-
Choose the Features→Pattern→Mirror command
 .
. -
On the Mirror command bar, set the Fast option
 .
.
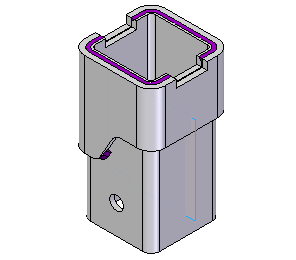
You will copy and mirror the groove weld you just constructed, as shown.
![]()
Select the feature to copy
-
On the Mirror command bar, set the Select option to Body.

When mirroring weld beads and protrusions in a weldment assembly, you must set the Body option.
-
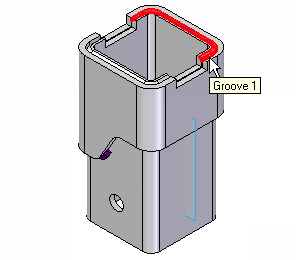
In the graphics window, select the groove weld feature you just constructed.
-
On the command bar, click Accept
 . This tells the system that the feature you selected is the only one you want to copy.
Define the mirror plane
-
On the command bar, in the Create-From Options list, ensure that the Coincident Plane option is set.

-
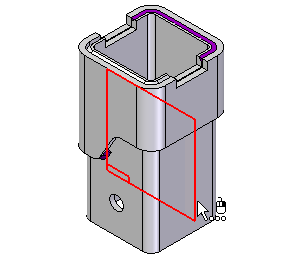
Select the Front (xz) reference plane, as shown. The feature will be copied symmetrically about this plane.
Finish the mirror copy
-
Right-click to finish the copy.
Save the file
-
On the Quick Access toolbar, click Save
 .
.
© 2021 UDS