Activity: Create a stitch weld feature
Create a stitch weld feature
In this activity you will learn how to create a stitch weld feature.
Launch the Activity: Create a stitch weld feature.
Construct a Stitch Weld
-
Choose the Features→Assembly Weld Features→Stitch Weld command
 .
. -
On the Stitch Weld Options dialog box, set the following options:
-
Set the Stitch type to Stitch Only.
-
Set the Gap length to 57.2.
-
Set the Bead length to 50.
-
-
Click OK.
![]()
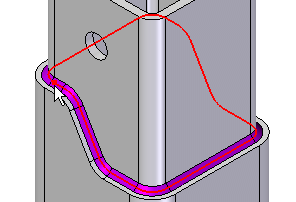
In the next few steps you will modify the fillet weld using the Stitch Weld command, as shown.
Select a weld bead
-
In the graphics window, select the edge of the fillet weld at the location shown to define the start point of the stitch weld.

-
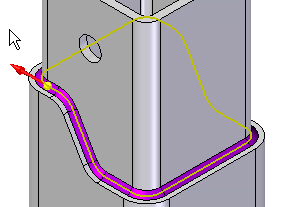
Position the cursor as shown, then click to define the stitch weld direction.

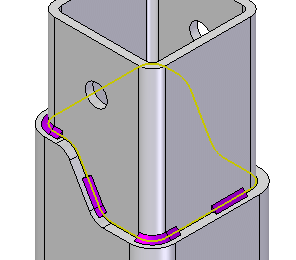
Accept the Stitch weld
-
On the command bar, click Accept
 .
.
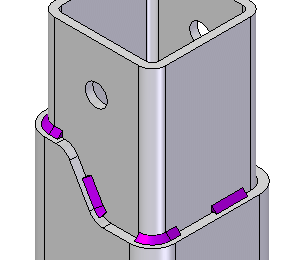
Notice that the fillet weld you constructed earlier has been modified.
Finish the stitch weld
-
On the command bar, click Finish.

Save the file
-
On the Quick Access toolbar, located at the top-left side of the application window, click Save
 .
.
© 2021 UDS