Activity: Place dimensions on the detail view
Placing dimensions on the detail view
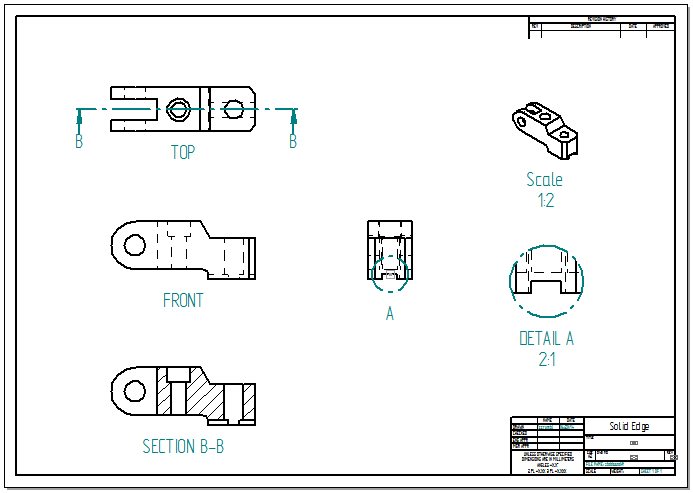
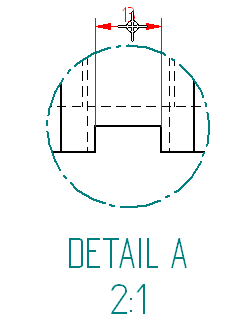
The starting point for this tutorial is shown in the illustration at the top of the page. (The drawing view captions TOP and FRONT have been added above, to help understand the part, but these are not shown in your drawing.)
In the first activity, place dimensions on the DETAIL A view to learn how to use the Smart Dimension command.
In the second activity, retrieve dimensions from the part model as a starting point for adding dimensions to these views:
-
TOP view
-
FRONT view
Cleanup—Delete the unneeded dimensions retrieved from the model, and adjust the placement of those that remain.
Finally, add some different types of dimensions, as well as all of the annotations shown in the illustration at the bottom of the page.
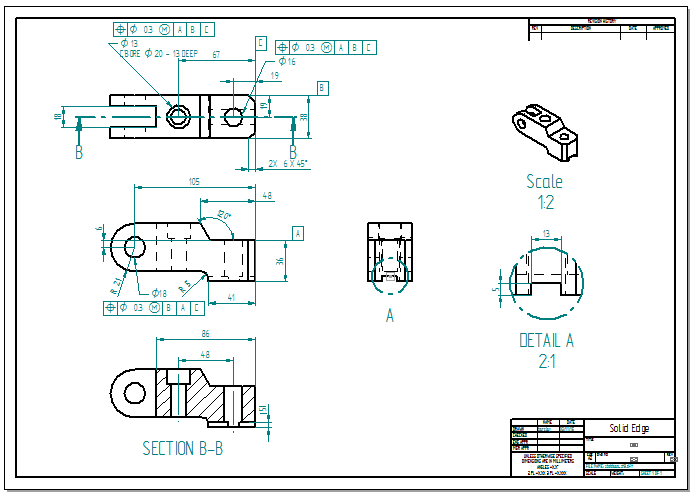
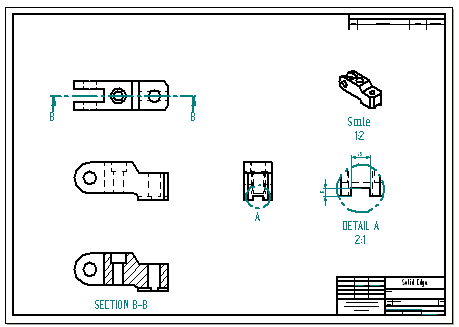
When finished with this tutorial, the drawing will be fully detailed, like this one:
Launch the Activity: Place dimensions on the detail view.
Open the activity draft file
-
Open ...\Program Files\UDS\QY CAD 2022\Training\sbddaan.dft.
-
Click the Application button
 .
. -
From the Application menu, choose the Save As →Save As command.
-
In the Save As dialog box, save the draft file to a new name or location so that other users can complete this activity.
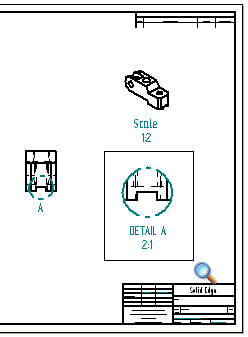
Zoom in on a view
-
On the status bar at the bottom of the window, click the Zoom Area button
 .
. -
Click above and to the left of the Detail view, then drag the cursor below and to the right of the view, and click again. Refer to the following illustration.
-
Right-click to exit the Zoom Area command.
![]()
Use the Zoom Area command to zoom in on a view prior to adding dimensions and annotations.
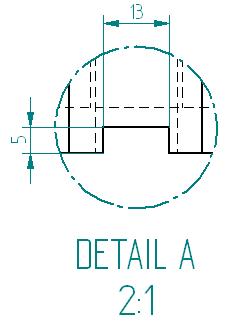
Place dimensions on the detail view
-
Choose Home tab→Dimension group→Smart Dimension
 .
. -
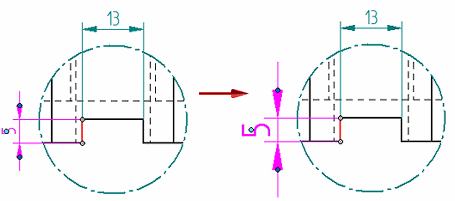
Place dimensions that show the width of the notch on the detail view:
-
Select the line at the top of the notch, and then move the cursor above the notch.
Notice that projection lines, dimension arrows, leader lines, and the dimension text reposition dynamically, depending on where the cursor moves.
-
Position the dimension as shown in the illustration, and click to place it.
-
-
Place dimensions that show the depth of the notch on the detail view:
-
Select the line at the side of the notch, and then move the cursor to the side.
-
Position the dimension as shown in the illustration, and click to place it.

-
-
Press Escape to end the Smart Dimension command.
Use the Smart Dimension command to place dimensions on lines and arcs with two clicks. The first click selects a line or arc, and the second places the dimension.
Positioning dimension text and arrows
Before clicking to place a dimension, fine-tune how the dimension text and arrows are placed.
If the cursor is moved above or below the extension lines, the text and arrows will be placed outside the dimension lines.
Sizing dimension text and arrows
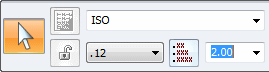
To make the dimensions easier to read, change the dimension text size on the command bar.
-
Change dimension text size before placing a dimension, and all dimensions placed without exiting the command will keep the new size.
-
Select an existing dimension and change its size individually.
Click a dimension extension line, and then in the Text Scale box, type 2. Press Enter.
Fit the drawing sheet to the window

-
On the status bar at the bottom of the application window, click Fit
 .
.The drawing sheet fits to the window.
 Tip:
Tip:The Fit command is located with other view manipulation commands. Use these commands at any time to adjust the view.
To exit a view manipulation command and return to a drawing command in progress, right-click.
-
On the Quick Access toolbar, choose the Save command
 .
.
After zooming in, use the Fit command to bring all of the drawing views back into view.
© 2021 UDS