Apply a decal to a model
When applying decals, you can:
-
Apply a planar projection decal
-
Apply a label decal
Apply a planar projection decal (ordered environment)
-
Choose the View tab→Style group→Decal command
 .
. -
On the Decal Options dialog box, click Planar projection and then click OK.
-
On the General page (Insert Image dialog box), specify the image file to insert and the insertion method.
Tip:If you select the Browse button to locate an image file using the Open a File dialog box, set the Files of type list to All Image Files (*bmp,*.png,*.jpg,*.jpeg,*.jpe,*,tif,*.tiff).
-
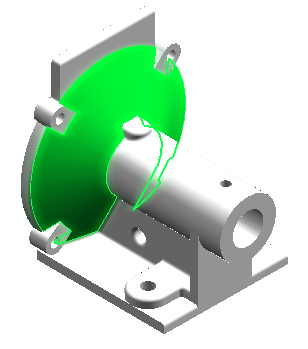
Click the face on which you want to project the image and then click Accept.
-
Click a planar face or reference plane.
If you selected a single planar face in the previous step, this step is skipped.

-
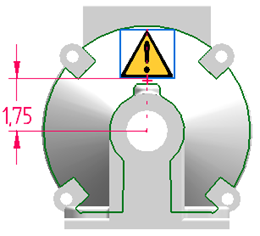
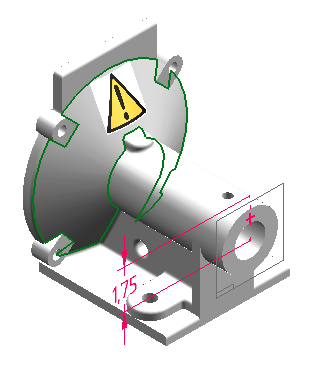
Use relationships and dimensions to position the decal and constrain it from moving on the face.
-
Click the Close Sketch button
 .
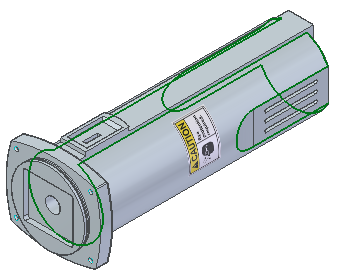
.The image is projected onto the selected face.
-
(Optional) Click the Decal Display Step button and use the options to change settings such as the width, height, and angle.
-
Click Finish.
A Decals collector is added to PathFinder and the decal is projected onto the face.

Apply a planar projection decal (synchronous environment)
-
Choose the View tab→Style group→Decal command
. -
On the Decal Options dialog box, click Planar projection and then click OK.
-
On the General page (Insert Image dialog box), specify the image file to insert and the insertion method.
Tip:If you select the Browse button to locate an image file using the Open a File dialog box, set the Files of type list to All Image Files (*bmp,*.png,*.jpg,*.jpeg,*.jpe,*,tif,*.tiff).
-
Click the face on which you want to project the image and click Accept.
-
Click a planar face or reference plane.
If you selected a single planar face in the previous step, this step is skipped.
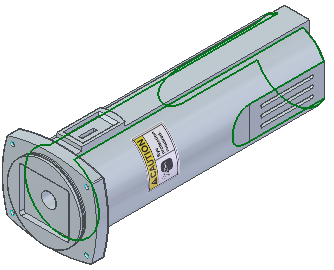
The image is projected onto the selected face.
-
(Optional) Click the Decal Display Step button and use the options to change settings such as the width, height, and angle.
-
Click Finish.
A Decals collector is added to PathFinder and the decal is projected onto the face.
If needed, you can reposition the decal.
Apply a label decal
-
Choose the View tab→Style group→Decal command
. -
On the Decal Options dialog box, click Label and then click OK.
-
On the General page (Insert Image dialog box), specify the image file to insert and the insertion method.
Tip:If you select the Browse button to locate an image file using the Open a File dialog box, set the Files of type list to All Image Files (*bmp,*.png,*.jpg,*.jpeg,*.jpe,*,tif,*.tiff).
-
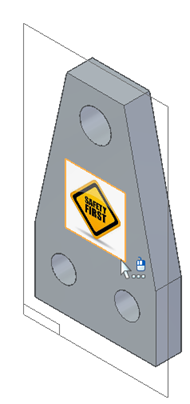
Click a face.
-
Use the Offset options to position the label on the face.
-
Click the Decal Display Step option and use the options to change settings such as the width, height, and angle.

-
Click Finish.
A Decals collector is added to PathFinder and the decal is applied onto the face.
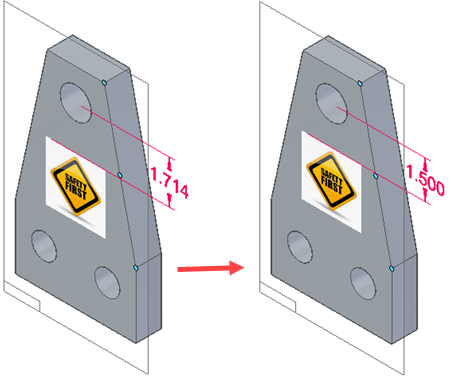
Reposition a decal in synchronous
-
In PathFinder, right-click the decal and then click Show Sketch.

-
Click the decal sketch.
-
Use relationships and dimensions to position the decal and constrain it from moving on the face.
-
In PathFinder, right-click the decal and then click Hide Sketch.

© 2021 UDS