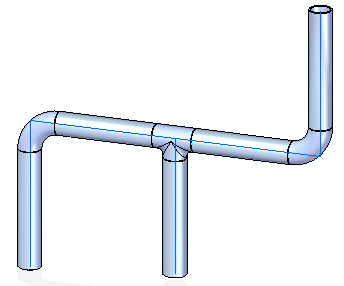
Create a piping route
When creating a piping route, you can:
-
Place pipes and fittings located in a standard parts library.
-
Place pipes and fittings located outside a standard parts library.
Note:You can also combine these two methods. For example, you can place a pipe from a standard parts library and the fittings from a location outside the library or vice versa.
For QY CAD data management users who selected the option Automatically name files via Document Number and Revision, the system displays a dialog box where you can assign common properties, such as document number and revision number, as explained in Create documents with unique properties.
Place pipes and fittings located in a standard parts library
-
While working in XpresRoute, choose Home tab→Piping group→Piping Route
 .
. -
On the Piping Options dialog box, select the Select from Standard Parts Library options for both Pipes Location and Fittings Location.
-
Set the other options on the dialog box to place the appropriate pipe and fittings.
-
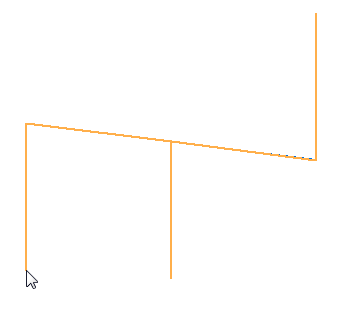
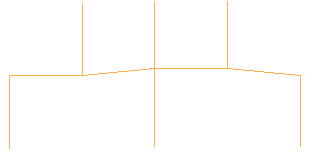
Select the path to define the piping route.
-
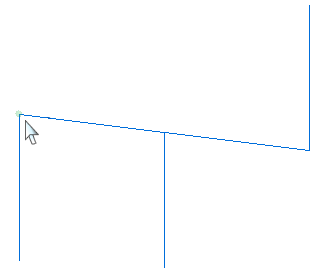
Click the Accept button
 .
. -
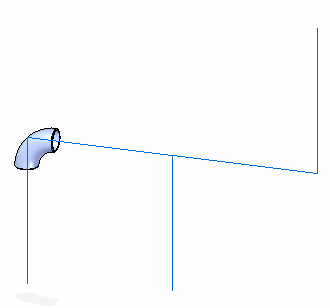
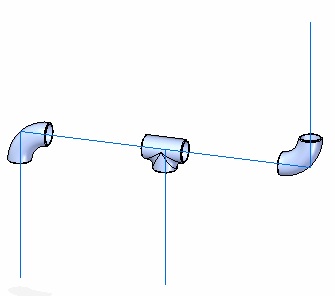
Click the Preview button.
-
Click the Finish button.
Place pipes and fittings located outside a standard parts library
-
While working in XpresRoute, choose Home tab→Piping group→Piping Route
. -
On the Piping Options dialog box, select the Browse for Pipes and Browse for Fittings options.
-
On the Piping Options dialog box, click the Select Folder button
 .
. -
On the File Open dialog box, select the pipe part you want to place and click Open.
-
On the Piping Options dialog box, click OK.
-
Select the path to define the piping route.
-
Click the Accept button
. -
Select the keypoint to place the fitting.
-
On the File Open dialog box, locate and select the fitting you want to place, and then click Open.
The fitting is placed at the selected keypoint.
-
Repeat the previous two steps until all fittings are placed.
-
Click the Preview button.
-
Click the Finish button.
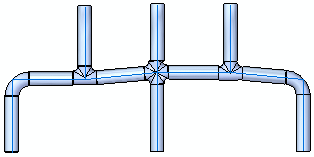
Place pipes and fittings along a gradient pipe route
-
While working in XpresRoute, choose Home tab→Piping group→Piping Route
. -
On the Piping Options dialog box, select the Select from Standard Parts Library options for both Pipes Location and Fittings Location.
Note:You can also place the pipes and fittings from a location outside the standard parts library.
-
Set the other options on the dialog box to place the appropriate pipe and fittings.
-
Select the path to define the piping route.
-
Click the Allow Gradient button
 .
. -
Type a value for the maximum gradient you want to allow.
The maximum value you can enter is 20 degrees.
-
Click the Accept button
. -
Click the Preview button.
-
Click the Finish button.
© 2021 UDS