Group or ungroup elements
Grouping elements allows you to work with them as a unit. The elements must be on the same sheet.
Group elements
-
In the document window, select two or more elements.
-
From the Sketching tab (or the Home tab), choose Blocks group→Block list→Group
 .
. -
On the Group command bar, type a name and click Accept
 .
.
Ungroup elements
-
In the document window, select a group.
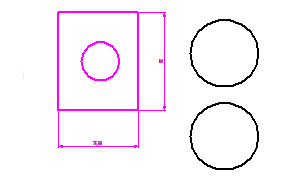
All of the elements in the group are highlighted in the select color.
-
Right-click and choose the Ungroup
 .
.
-
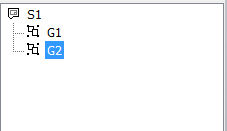
You also can use the Groups tab in the Library pane to select and manage a group that you created. Click a group name to select the members of the group on the sheet.


-
You can use the Ungroup All command to remove all elements from all groups automatically.
Add or remove elements with the Select button on the Group command bar
-
Select an existing group.
All of the elements in the group are highlighted in the select color.
-
On the command bar, click the Select button
 .
. -
Do one of the following:
To
Do this
Remove an element from the group.
Shift+click a highlighted element.
Add an element to the group.
Click it.
-
On the command bar, click Accept
 .
.
Use QuickPick to remove an element from a group
You can use QuickPick to select and edit one or more members of a group. This is useful when the group consists of crowded or overlapping elements.
-
Choose Home tab→Select group→Select
 .
. -
Position your cursor over an element that you want to remove from a group, near where it intersects or overlaps another element. When the QuickPick prompt
 is displayed, right-click.
 -
Move the cursor over the entries in the QuickPick list displayed near your cursor. When the element you want to remove from the group is highlighted in the document, click its matching entry in the list.
-
From the Sketching tab (or the Home tab), choose Blocks group→Block list→Ungroup
 .
. -
Click in space to finish.
-
You can use the bottom-up selection method, instead of QuickPick, to select individual members to be removed from an existing group. When the Select command is running, click the Bottom Up button
 on the Draft, Profile, and Sketch Selection command bar.
 -
You can nest groups by selecting two or more groups to include in a new group. You can then ungroup the entire group or any of its members.
-
A nested group can consist of a combination of individual elements and groups.
-
You can perform tasks on all of the members of a group by selecting the group and then selecting the command or command bar option you want to use.
-
You can use the Group Properties dialog box to find out if an element is part of a group. Right-click an element on the sheet and choose Properties.
© 2021 UDS