Apply a rigid set relationship to 3D sketch elements
When creating a 3D sketch in a model document, you can use the Rigid Set command to make multiple sketch elements behave as a set.
-
On the 3D Sketching tab, choose the 3D Relate group→Rigid Set command
 .
.The command is also available on the Home tab in an assembly 3D sketch.
-
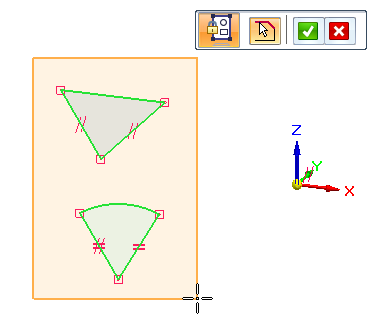
Click individual elements to add to the set, or click+drag a fence around the 3D sketch elements you want to select.
You can select 3D sketch entities such as lines, arcs, circles, curves, points, and rectangles to include in the rigid set.
-
On the Rigid Set command bar, click the Accept button.
-
(Optional) While the command bar is still available, you can use Shift+click to add or remove elements. Click Accept when done.

-
Click the Select Tool to exit the command.
You now can select one of the elements in the rigid set and then drag the set to reposition it, rotate the set, or change the size of all elements at once.

© 2021 UDS