Make elements symmetric in a 3D sketch
When creating a 3D sketch in a model document, you can use the Symmetric command to make two or more elements symmetrical around a reference plane.
-
On the 3D Sketching tab, choose the 3D Relate group→Symmetric command
 .
.The command is also available on the Home tab in an assembly 3D sketch.
-
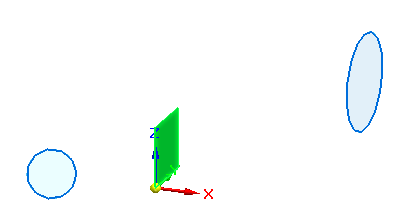
Click a reference plane to use as a symmetry axis.
You can use QuickPick to easily select the YZ reference plane shown in this example.
-
Click the first element that you want to make symmetric. You can click a line, arc, or circle of a 3D Sketch.
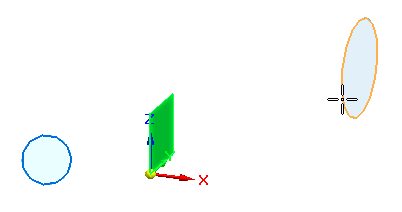
-
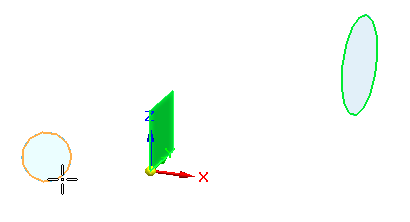
Click a second element. The first element will be made symmetric to the second element.
-
You can click a line, arc, or circle in a 2D sketch or a 3D sketch.
-
You can click a linear edge, arc edge, or circular edge on a 3D model.
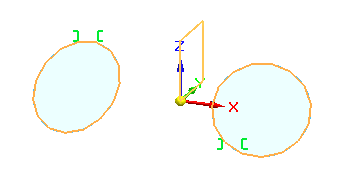
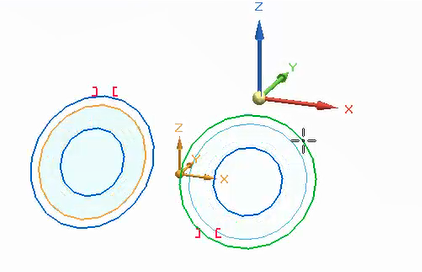
The first element is symmetrically aligned with the second element about the reference plane, and the symmetric relationship handle is displayed on both elements.
-
If you drag the edit handle to change the diameter of one of the elements where a symmetric relationship is applied, both elements are sized together.
© 2021 UDS