Split faces with offset
-
In the Subdivision Modeling environment, choose the Home tab→Modify group→Split list→Split with Offset command
 .
. -
Select one or more cage body faces to split. Faces do not have to be contiguous or share common edges. You also can select faces on different cage bodies.
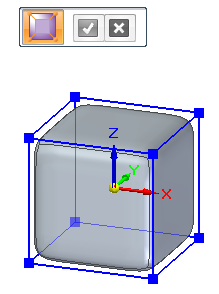
The default offset value is displayed in the edit box.
-
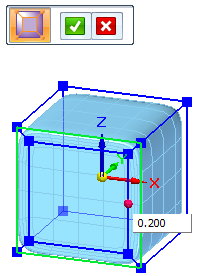
Adjust the offset value—You can control the width of the new faces by typing an offset value in the edit box or by dragging the red handle, which is displayed on the last face selected.
-
To accept the offset value and finish the subdivision body, right-click or click the check mark.
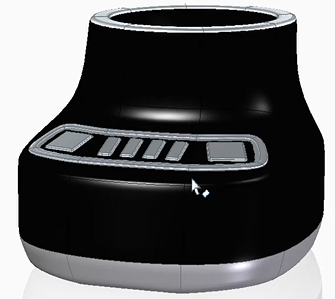
You can add geometric detail to one or more cage body faces by raising or lowering split faces.
On this subdivision model of a blender base, the control pad was formed by lifting the outer edges. The buttons were subsequently added in ordered modeling mode.

-
Use the Undo command to undo the split faces.
-
You can split additional faces by selecting the Split with Offset command again.
-
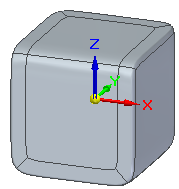
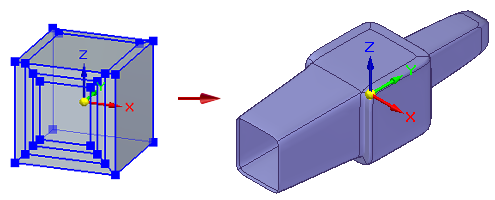
Use the synchronous edit handle to drag split faces to create shapes like this:
© 2021 UDS