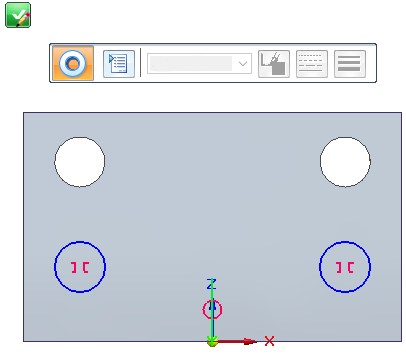
Place hole circles
-
The profile true view is displayed.
-
For hole features, the Hole Circle command is started for you to place holes in the profile sketch.
-
On the command bar, click the Hole Options button, and specify hole size, type, and other parameters in the Hole Options dialog box.
-
Click to place one or more hole circles.
-
To create symmetrically aligned holes within the same hole feature, add a symmetric constraint between two hole circles in the hole circle sketch profile. You also can add a horizontal/vertical relationship between hole circles.
-
Click the green check mark to close the hole circle sketch and return to the hole feature command bar.
For more information, see Hole command (ordered).
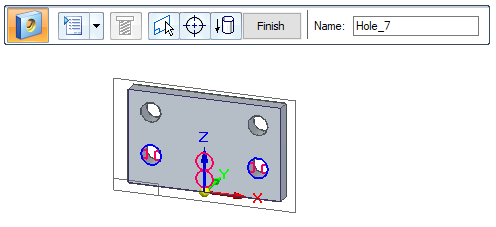
When you select a hole feature profile plane, the Hole command bar automatically advances to the profile step, and the following changes take place:
If the hole circle profile is invalid for constructing the hole feature, you are returned to the profile step. A message describing the problem is displayed. When you have corrected the problem, click Finish on the command bar to proceed.
© 2021 UDS