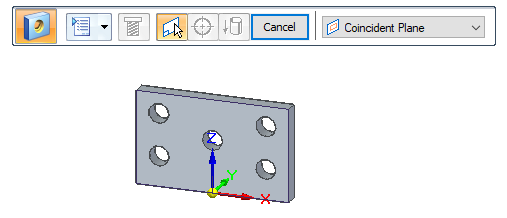
 Hole command (ordered)
Use the Home tab→Solids group→Hole command  to construct one or more holes in the ordered environment. You can define simple, threaded, tapered, counterbored, and countersunk holes.

When you select the Hole command, the command bar guides you through the following steps:
| Step 1. | Plane Step—Define the profile plane. |
| Step 2. | Hole Step—Define hole parameters in the Hole Options dialog box, and position one or more hole circles using the Hole Circle command. |
| Step 3. | Extent Step—Define the extent or depth of the holes. |
| Step 4. | Finish Step—Process the input and create the feature. |
Hole patterns
You can place more than one hole circle when constructing hole features. A hole feature with multiple profiles is treated as a user-defined pattern, similar to other pattern features. For example, you can use a user-defined pattern of holes in a part to place a pattern of bolts in an assembly.

© 2021 UDS