Replace faces
Replace faces
Click here to download the activity file.
Launch the Replace faces activity.
Open part file
-
Open replace_face.par.
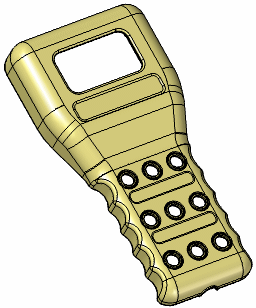
Display the replacement
-
Turn on the face labelled Extrude 1.
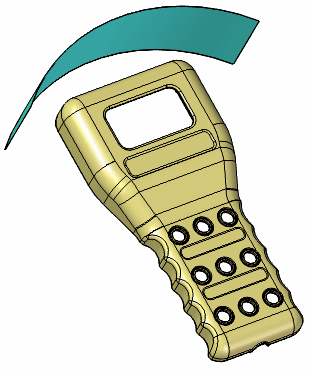
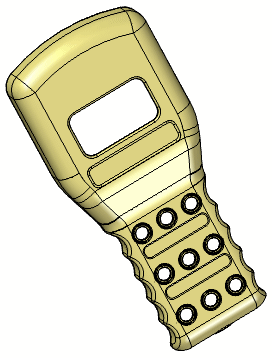
Replace the top face of the scanner
-
On the Surfacing tab→Modify Surfaces group, choose the Replace Face command
 .
. -
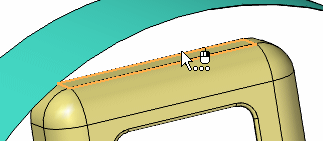
Select the face shown as the face to be replaced. Click the Accept button on the command bar.
-
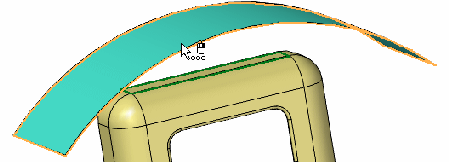
Select the extruded face, named Extrude 1, as the replacement face.
-
Click Finish.
-
Save and close the file.
Summary
In this activity you learned how to replace a model face with another face. As the face is replaced, all connecting faces adjust to the replaced face.
-
Click the Close button in the upper-right corner of this activity window.
© 2021 UDS