Activity: Using the variable table
Using the Variable Table
This activity demonstrates how to use the Variable Table to control dimensions.
In this activity an existing part is dimensioned and then the variable table is used make changes to the part.
Click here to download the activity file.
Launch the Activity: Using the variable table.
Open activity file
-
Open variable_X.par.
Dimension the model
-
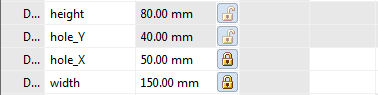
Place four dimensions. Place them in the order shown.
Open the variable table
-
Choose the Tools tab→Variables group→Variables command.
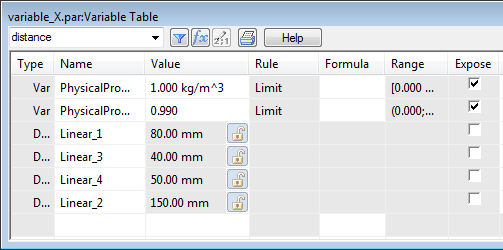
Change the dimension variable name
-
Change the dimension display. Right-click a dimension and then click Show All Names.
-
In the variable table, double-click in the Name box for Linear_1. Type height for the new variable name and press Enter.
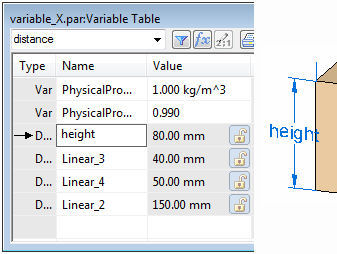
-
Rename the remaining dimensions: Linear_2=width, Linear_3=hole_Y, Linear_4=hole_X.

Create a user defined variable
-
In the variable table, double-click the first empty Name box shown, and type user_defined_A. Press Enter.
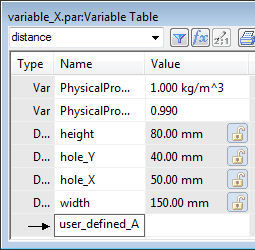
-
Double-click the Value box for variable user_defined_A and type 50. Press Enter.

Lock a dimension
-
Select the width dimension on the part and click the lock button to lock the dimension.
 Note:
Note:Notice that the dimension changes to red, which means that it is a driving dimension.
-
Notice in the variable table that the width value has a locked icon.
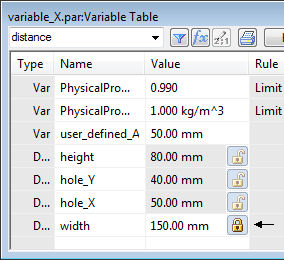
You can click the value edit button or click the dimension on the part to change the dimension value. Both bring up the same dimension value edit dialog.
Add a formula to a dimension variable
-
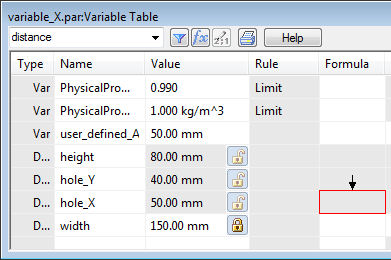
Select the hole_X dimension on the part and click the lock button. Notice in the variable table that the Formula box is enabled and a value edit button is available the value.
-
Click the Formula box for the hole_X variable, and type =user_defined_A and press Enter.
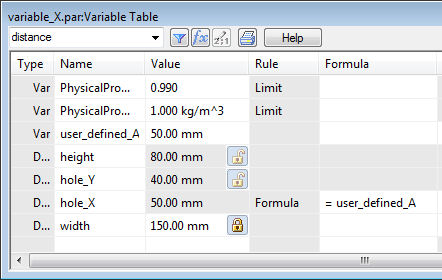
Notice that the hole_X dimension on the model contains two colors. The value is still driven (purple), but the dimension can be edited using a formula (red).
Add a formula to control the hole_X value. Notice in the variable table that the Formula box for hole_X is not available. This means that it cannot be edited because it is a driven dimension.
Edit the dimensions
-
In the variable table, change the dimension variables with the value edit button and observe the model changes. You decide what values to enter. As changes are made, the model preserves the design intent built into the model.
Summary
In this activity you learned how to use the variable table control the dimensions on a model. You learned how to rename a system defined variable, create a user defined variable and how to add a formula for a variable.
-
Close the file and do not save.
-
Click the Close button in the upper-right corner of the activity window.
© 2021 UDS