Activity: Adding a splice to a wire
Activity: Splicing a wire
In this activity, you will splice a wire and create additional wires.
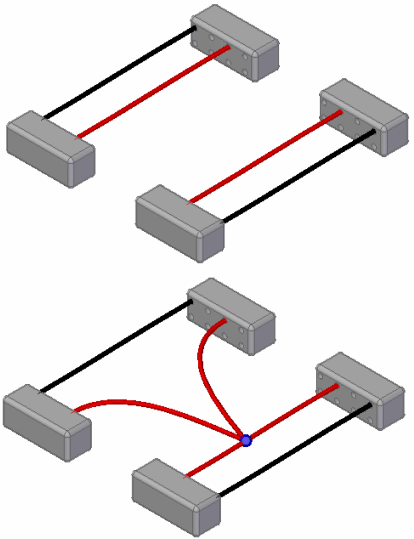
Click here to download the activity file.
Launch the Activity: Adding a splice to a wire
Open the assembly file
-
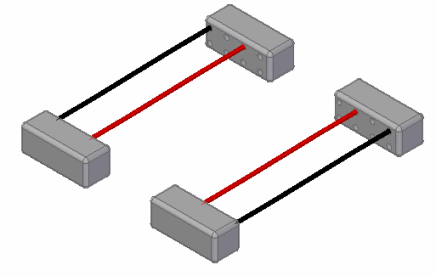
Open the assembly splice_wire.asm.
Open the Electrical Routing environment
-
Click Tools tab→Environs group→Electrical Routing
 command.
The system displays the Electrical Routing environment. The ribbon contains the commands you use to create wire harness conductors (wires, cables, or bundles).
You will use PathFinder for most of this activity.
Observe PathFinder
-
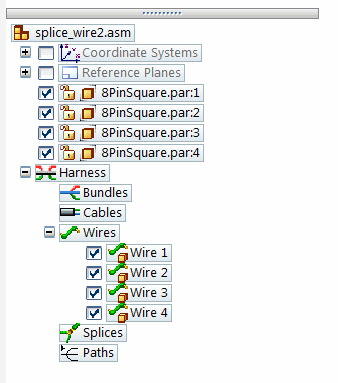
If the Harness group is collapsed, click the plus symbol (+) to expand it.
-
Click the plus symbol (+) to expand the Wires group.
The Wires group contains four entries.
Splice a wire
-
Click the Home tab→Harness group→Splice button

-
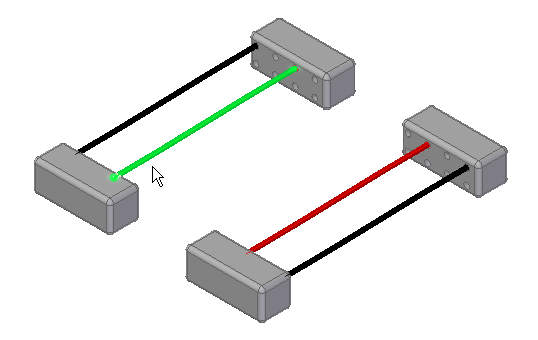
Select the first wire, as shown next.
-
Select the second wire, as shown next.

-
Click the green Accept check mark.
-
Click the splice point as shown in the illustration.
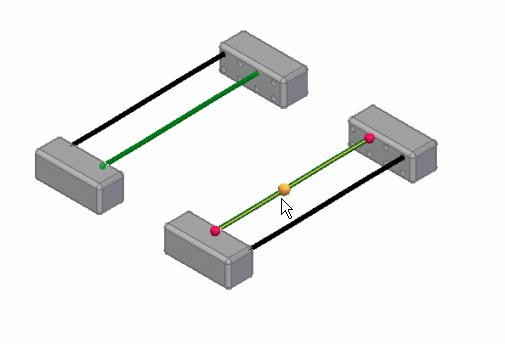
-
Click Preview.
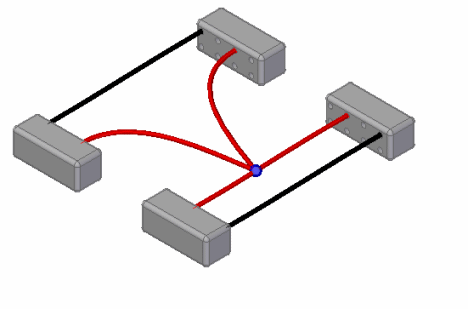
-
Click Finish.

Observe Pathfinder
-
Notice that two new wires were added to the Wires group in PathFinder.
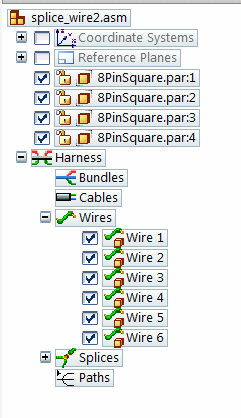
-
In PathFinder, hover over Wire 5 and notice the new wire that was created in the splice.

-
Click the plus symbol (+) to expand the Splices group and then click the plus symbol (+) to expand the Splice 1 group.
The Splice 1 group contains entries for the wires modified and created when you added the splice.
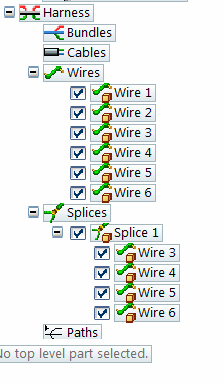
Return to the Assembly environment

-
Click the Tools tab→Close group→Close Electrical Routing button
 .
.
Save and close the file
-
On the Quick Access toolbar, click the Save button to save the document
 .
. -
Close the part.
© 2021 UDS