Move PMI elements in 3D
The Move Dimension command moves PMI dimensions and annotations. They move in a direction that is normal to the plane where they reside, adding extensions to the projection lines as needed.
-
Select the Move Dimension command by doing one of the following:
-
In the ordered environment, select PMI tab→Tools group→Move Dimension
 , and then click the PMI element you want to move.
 -
In the synchronous environment, right-click a PMI element in the graphics window or in PathFinder, and then choose Move Dimension.
-
-
Specify the new location using one of these methods:
-
In the graphics window, move the cursor to the new location and then click.
As you move the cursor, the PMI element is dynamically moved with it.
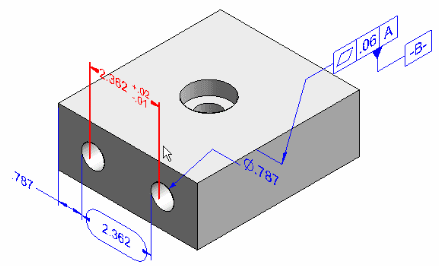
Example:Before
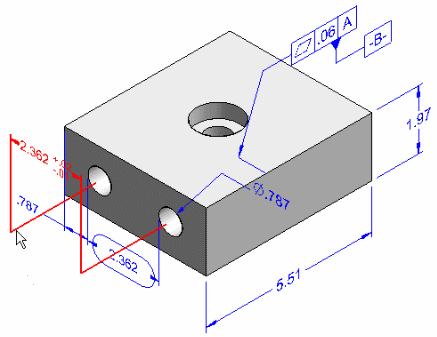
After
-
Specify a keypoint by doing the following:
-
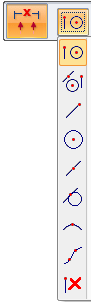
Click the Keypoints button on the command bar, and then select the type of keypoint you want to use from the list.
-
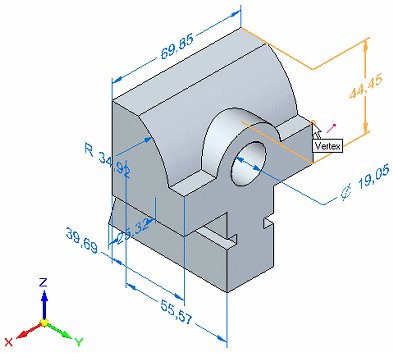
Move the cursor to locate a keypoint, and then click to place the PMI element.
-
-
-
Click the next dimension or annotation to move, or press Esc or click Select to exit the command.
You can use Alt+drag to detach a PMI dimension or annotation from one model element and reattach it to a different model element. To learn how to do this, see Change the parent of a dimension by dragging it.
© 2021 UDS