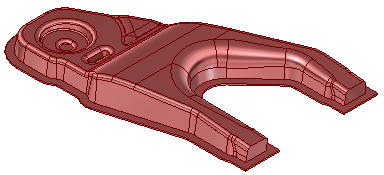
Activity: Create an emboss feature
Activity: Create an emboss feature
Activity objectives
This activity demonstrates how to design bodies to create an emboss feature in a solid model. In this activity you will:
-
Select a target body for the emboss feature.
-
Select a tool body for the emboss feature.
-
Create the emboss feature.

Click here to download the activity file.
Launch the Activity: Create an emboss feature.
Open the activity file
-
Start QY CAD 2022.
-
Open emboss_activity_01.par.
Start the Emboss command
-
Select the Home→Sheet Metal→Dimple→Emboss command
 .
. -
Click the Emboss Options button on the command bar.
-
Ensure the options on the Emboss Options dialog box match the illustration.

Select the target body
-
Move the cursor over the highlighted body and click to define the target body to be embossed.

Select the tool body
-
Move the cursor over the highlighted body and click to define the tool body.

-
On the Emboss command bar click the Accept button, and then press the Esc key.

Observe the results
-
Rotate the model so that you can see the bottom of the model.
Notice that the solid part model that you started with is now an embossed body.

-
Save and close the sheet metal document. This concludes this activity.
Activity summary
In this activity you used design bodies to create a emboss feature in a solid model. The target body defined the body to emboss. The tool body defined the design for the emboss.
-
Click the Close button in the upper - right corner of this activity window.
Test your knowledge - Creating emboss features
Answer the following questions:
-
What is an emboss feature?
-
In which two environments can you use the Emboss command?
| Activity: Creating a flat pattern from a sheet metal part |
© 2021 UDS