Activity: Attach
Attach
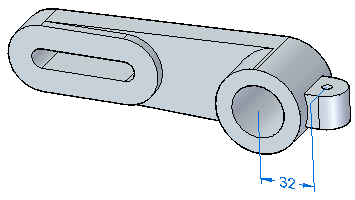
This activity demonstrates how to attach faces.
Attach a mounting tab to an anchor bracket.
In this activity you will:
-
Move faces.
-
Attach the faces.
Click here to download the activity file.
Launch the Activity: Attach.
Open the part file
Attach a mounting tab to an anchor bracket.
-
Open attach.par.
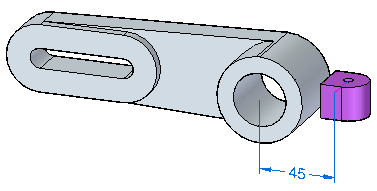
Move faces
-
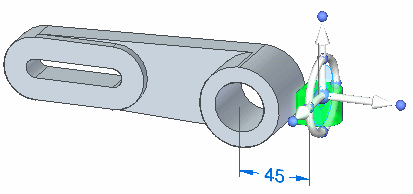
In PathFinder, select the detached protrusion.
-
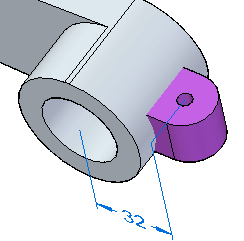
Click the 45 mm dimension. Make sure the dimension direction is as shown. Change the dimension to 32 and press Enter.
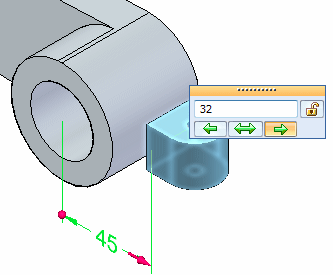
Left-click to finish the move.
Attach the faces
-
Select the detached protrusion again. Right-click and select Attach.
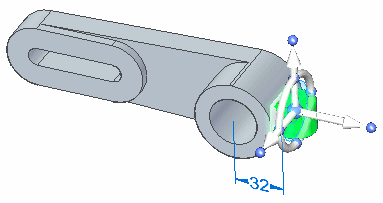
On the Attach dialog, select Add.
The protrusion attaches. Notice the color change from that of construction faces to model faces.

-
Save and close the file.
Summary
In this activity you learned how to attach a detached feature. Detached faces display with a construction face color. As the faces attach to the solid model and form a volume, the faces turn the color of the solid model faces.
-
Click the Close button in the upper-right corner of this activity window.
© 2021 UDS