Activity: Applying a symmetric about relationship
Applying a symmetric about relationship
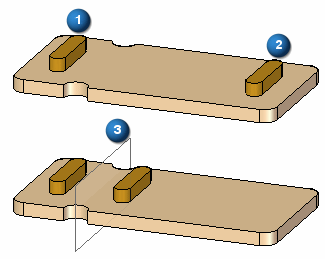
Learn how to make features (1) and (2) symmetric to a target face about a symmetry plane (3).
Click here to download the activity file.
Launch the Activity: Applying a symmetric about relationship.
If you are using Internet Explorer and a video is not displaying in your training guide, click the Tools tab (or gear icon)→Compatibility View settings, and then clear the selection of Display intranet sites in Compatibility View.
Open activity file
-
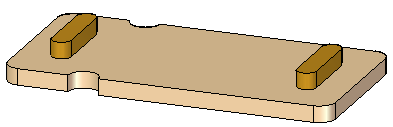
Open symmetric_about.par.
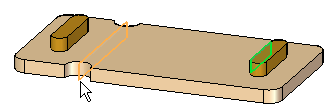
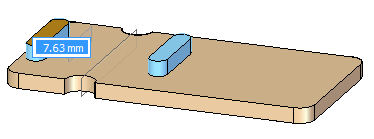
Problem: Make feature (1) symmetric to feature (2) about the symmetry plane (3).
Apply a rigid relationship
-
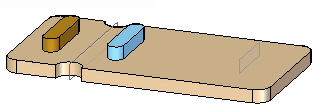
In PathFinder, select Protrusion B.
-
On the Home tab→Face Relate group, choose the Rigid relationship command
 .
. -
On the command bar, click the Accept button.
Apply a rigid relationship to feature (2). You do this because relationships are applied to faces. You want the entire feature (2) to move with the face that has a symmetric relationship applied to it.
Create a symmetry plane
-
On the Home tab→Planes group, choose the Coincident Plane command.

-
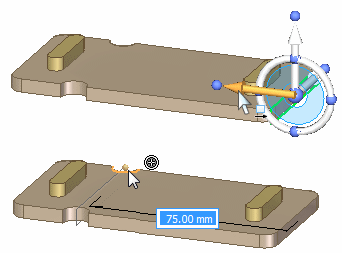
Select the face shown.
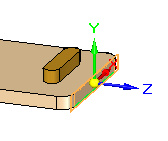
-
Move the coincident plane a distance along the axis direction that extends to the arc center shown.
Apply a symmetric about relationship
-
Select the face shown.
-
On the Home tab→Face Relate group, choose the Symmetry relationship command
 .
. -
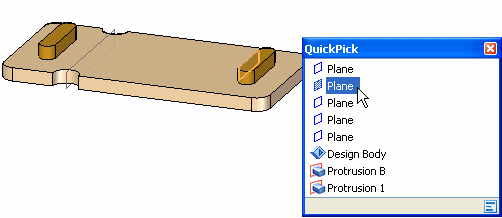
Select the face shown as the target symmetric face and then right-click to accept.
-
Select the plane shown for the symmetry plane.
-
On the command bar, click the Accept button.
 Note:
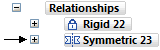
Note:A symmetry relationship is automatically persistent.
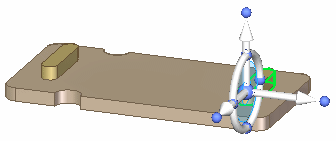
Observe symmetric behavior
-
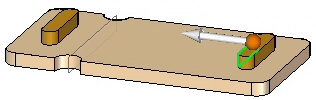
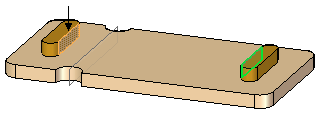
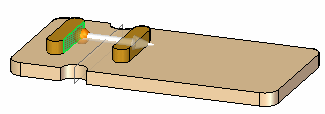
Select the face shown. Click the axis and dynamically move it. Notice that the features Protrusion A and Protrusion B move symmetrically.
This completes the activity.
Summary
In this activity you learned how to make two faces symmetric about a plane. The selected face (seed face) is modified to be symmetric to a target face about a symmetry plane. Use the Symmetry relationship command. Only the seed face moves unless a rigid relationship is applied to the other faces that are to move along with the seed face.
-
Close the file and do not save.
-
Click the Close button in the upper-right corner of the activity window.
© 2021 UDS