Activity: Model with a coordinate system
Model with a coordinate system
Overview
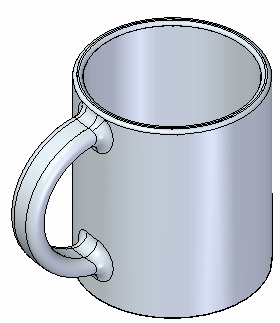
This activity demonstrates the process of creating features using a coordinate system.
Objectives
Create handle on a coffee cup using coordinate system.
Click here to download the activity file.
Launch the Activity: Model with a coordinate system.
Open a part file
-
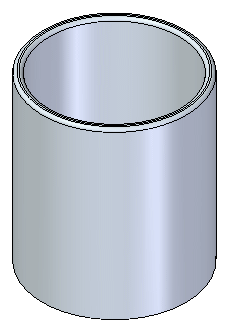
Open cup.par.
Create a coordinate system
-
On the Home tab→Planes group, choose the Coordinate System command.

-
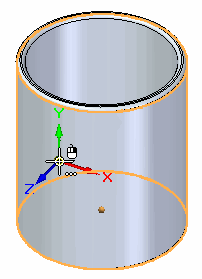
Place the coordinate system on the outside cylindrical surface of the cup. Do not be concerned with exact location. Press the Escape key when it places.
-
Place a dimension between the coordinate system’s X-axis and the edge on the top of cup.
-
Choose the Lock Dimension Plane option
 .
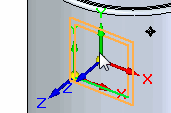
.Lock to the XY plane on the coordinate system on the cylindrical face.
-
Select the X axis on the coordinate system.
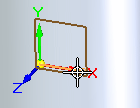
-
Select the edge on the top of the cup.
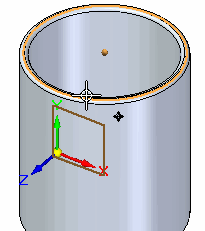
-
Change the dimension value to 52 mm.
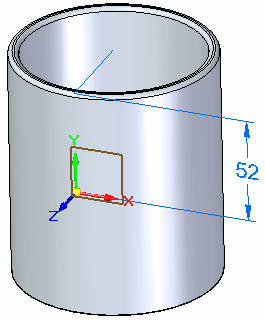
Press F3 to unlock the dimension plane and then F5 to clear its display.
-
Create the handle
-
Draw a rectangle on the coordinate system's XZ plane. Press the N key until the (green) edge shown on the plane highlights and then press the F3 key to lock to that plane.
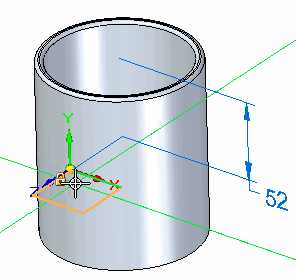
On the View tab→Views group, choose the Sketch View command. Add dimensions as shown.
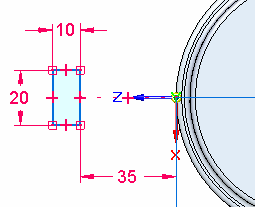
Press F3 to unlock the sketch plane. Press Ctrl+I to return to the ISO view.
-
Choose the Revolve command to generate the handle. Select the rectangle as the sketch. Accept it and then select the coordinate system X-axis as the rotation axis. You may need to use QuickPick to locate the X-axis.
Note:In QuickPick, the X-axis name is Edge (Coordinate System 3) - or similar.
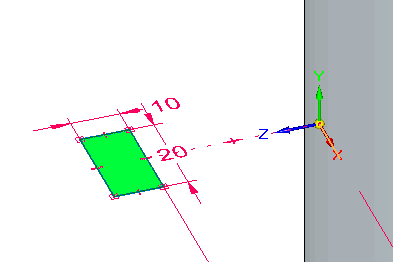
-
On the command bar, clear the Create Live Section option
 .
. -
On the command bar, set the Symmetric option
 , and type an angle of 183 degrees. Press the Enter key.
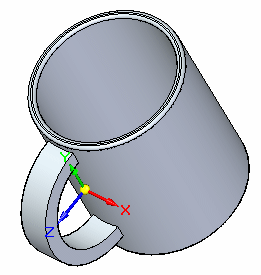
-
Save the file.
Optional: Finish the cup
-
First add a 5 mm round to the handle’s four edges and then right-click. Add a 7 mm round to the two handle/cup interface edges and then right-click.
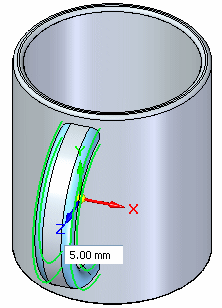
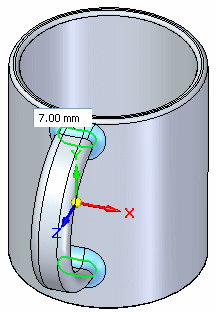
-
Turn off the display of the coordinate system entry in the Coordinate Systems collector.
-
Save and close this file.

If you wish to aesthetically finish the handle, you can add rounds to the edges.
Summary
In this activity you learned how to create a coordinate system to use to draw a sketch. The coordinate system was positioned with dimensions.
-
Click the Close button in the upper–right corner of this activity window.
© 2021 UDS