Activity: Replacing parts in an assembly
Activity: Replacing parts in an assembly
Overview
-
The objective of this activity is to show how to replace a part or subassembly in an assembly.
Activity
-
In this activity you will replace a subassembly with a similar subassembly inside of the top level assembly.
Click here to download the activity files.
Open an existing assembly with all the parts active
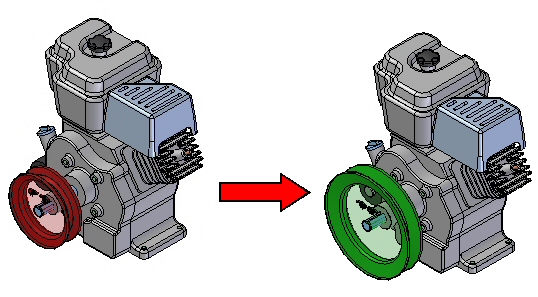
The assembly you will open has a small pulley subassembly that you will replace with a large pulley subassembly.
-
Click the Application button
 →Open→Browse and select Engine.asm from the folder where the activity files are located.
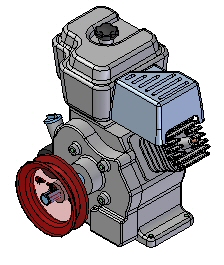
Replacing the subassembly
-
In the Home tab, in the Modify group, choose the Replace Part command
 .
. -
In PathFinder, select small.asm as the subassembly to replace. Accept the selection.
-
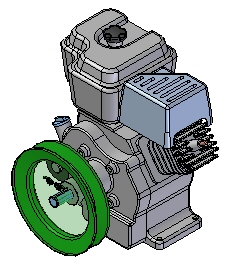
In the replacement part dialog box, browse for the assembly large.asm in the folder where the activity files are located, and then click open.
The subassembly has been replaced.
-
Save and close the assembly. This completes the activity.
The subassembly small.asm will be replaced with large.asm.
Summary
In this activity you learned how to replace a subassembly within a top level assembly.
-
Click the Close button in the upper–right corner of the activity window.
Test your knowledge: Replacing parts in an assembly
Answer the following questions:
-
Can you replace subassemblies within an assembly?
-
Can parts with dissimilar geometry be replaced?
-
Can you replace parts in a subassembly, and if so, how?
-
Can you replace members when creating a family of assemblies?
Answers
-
Can you replace subassemblies within an assembly?
Subassemblies as well as parts can be replaced in a top level assembly.
-
Can parts with dissimilar geometry be replaced?
Parts with dissimilar geometry can be replaced, however failed relationships are likely to occur. These would have to be repaired.
-
Can you replace parts in a subassembly, and if so, how?
Parts can be replaced in a subassembly by in place activating the subassembly and then replacing the part.
-
Can you replace members when creating a family of assemblies?
When creating a member of a family of assemblies, replacing a part as an occurrence override.
© 2021 UDS